As part of my work at the USC, I am always looking for different ways of helping scientist to reproduce their computational experiments. In order to facilitate software component deployment, I have been playing this week with Docker, a software wrapper that contains all the things you need to execute a software component.
The goal of this tutorial is to show you how you can get easily started to make your code reproducible. For more extensive tutorials and other Docker capabilities, I recommend you to go to the official Docker documentation: https://docs.docker.com/engine/getstarted/
Dockerizing your software: Docker images and containers
Docker handles two main concepts: containers and images. The images indicate how to set up and create an environment. The containers are the processes in charge of executing an image. For example, try installing Docker on your computer (https://docs.docker.com/engine/installation/) and test the “hello world” image:
docker run hello-world
If everything goes well, you should an image in your screen telling you that the Docker client contacted the Docker daemon, that the daemon pulled the “hello world” image from the Docker Hub repository, that then a new container was created, and that finally the output of the container was sent to your Docker client.
Docker has a local repository where it stores the images we create or pull from online repositories, such as the one we just retrieved. When we try to execute an image, Docker tries to find it locally and then online (e.g., on the Docker hub repository). If the system finds it, it will download it to our local repository. To browse over the images stored in your local repository, run the following command:
docker images
At the moment you should only see the “hello-world” image. Let’s try to do something fancier, like running an Ubuntu image with a unix command :
docker run ubuntu echo hello world
You should see “hello world” in the screen, after the image is downloaded. This is the same output you would obtain when executing that command in a terminal. If you are using popular software in your experiments, it is likely that someone has created an image and posted it online. For example, let’s consider that part of my experiment uses the samtools software, widely used in genomics analysis. In this example we will show how to reuse an image for samtools, the software we have used for the mpileup caller function.
The first thing we have to do is look for an image in Docker hub. In this case, the first result seems to be the appropriate image: https://hub.docker.com/r/comics/samtools/. The following command:
docker pull comics/samtools
will download the latest version. You can also specify the version by using a tag. For example comics/samtools:v1. Now if we execute the image locally:
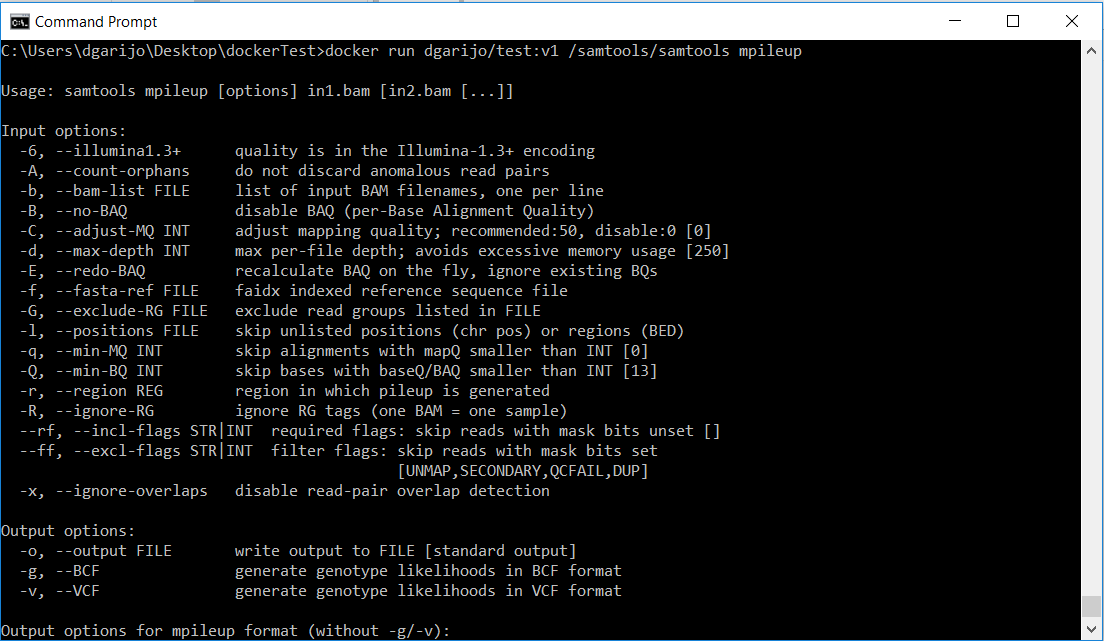
docker run comics/samtools samtools mpileup
We will see the following on screen.

Basically, the program runs, but it is asking for its correct usage (we didn’t invoke it correctly). Since the mpileup software requires three inputs, in this tutorial we are going to choose a simpler function from the samtools software: sort, which sorts an input bam file.
In order to be able to pass the inputs file to our docker container, we need to mount a volume, i.e., tell the system that we want to share a folder with the container. This can be done with the “-v” option.
docker run -v PathToFolderYouWantToShare:/out comics/samtools samtools sort -o /out/sorted.bam /out/inputFileToSort.bam
Where the PathOfTheFolderYouWantToShare is the folder where you have your input file (“inputFileToSort.bam”). This will result in a sorted file (“sorted.bam”) of the input file “inputFileToSort” in the folder “PathToFolderYouWantToShare”.
All right, so now we have our component working. Now if we want anyone to use our inputs, we just have to tell them which Docker image to download. You may include your data also as part of the Docker image, but for that you will have to create your own Docker file (see below).
Creating Docker files
OK, so far it’s easy to reuse someone else’s software if there is an image online. But how do I create an image of the scripts/software I have done for others to reproduce? For this we need to create a Docker file, which will tell Docker how to build an image.
The first step is to build an image for the software we want to install. In my case, I chose the Ubuntu default image, and then added the steps and dependencies of the samtools software. My Docker file looks as it follows:
from ubuntu
MAINTAINER add yourself here emailgoeshere@example.com
RUN apt-get update && apt-get install -y python unzip gcc make bzip2 zlib1g-dev ncurses-dev
COPY samtools-1.3.1.tar.bz2 samtools.tar.bz2
RUN bunzip2 samtools.tar.bz2 && tar xf samtools.tar && mv samtools-1.3.1 samtools && cd samtools && make
ENV PATH /samtools:$PATH
The image created by this Docker file modifies the Ubuntu image we downloaded before, installing python, unzip, gcc, make, bzip2, zlib-dev and ncurses-dev, which are packages used by samtools. Thanks to this, we will have access to those commands from our Linux terminal in our container. The second command copies the software we want to install into the container (download it from https://sourceforge.net/projects/samtools/files/samtools/), unzips it and compiles it, adding “/samtools” to the system path. Note that if we want to copy sample data to the image, this would be another way to do so.
Now we just have to build the file using the following Docker command:
docker build -t youruser/nameOfImage -f pathToDockerFile .
youruser/nameOfImage is just a way to tag the images you create. In my case I named it dgarijo/test:v1. Later, when running the image as a container, we will use this name. The -f option points to the docker file you want to build as an image. This flag is optional: if you don’t include it, it will search on your local folder. Also, in some cases there are known issues. If you run into any trouble, just use:
docker build -t dgarijo/test:v1 DIRECTORY .
Where the “DIRECTORY” contains a docker file called “Dockerfile”.
Now that our image is in our local repository, let’s run it using the –v option to pass the appropriate inputs:
docker run -v PathOfTheFolderWithTheBamFile:/out nameOfYourImage samtools/samtools sort -o /out/sorted.bam /out/canary_test.bam
After a few seconds, you should see that the program ends, and a new file “sorted.bam” has appeared in your shared file. Now that your image works, you should consider uploading to the Docker hub repository (see the tutorial on the Docker site)
And that’s it for today! If you want to see more details on how some of these dockerized components can be used in a scientific workflow system like WINGS, check out this tutorial: https://dgarijo.github.io/Materials/Tutorials/stanford5Dec2016/

Hola Dani! Igual te interesa nuestro paper sobre Docker, Galaxy, y Servicios Web: http://gigascience.biomedcentral.com/articles/10.1186/s13742-015-0092-3
PS: muy buen blog 😉
Gracias! Le tendre que echar un ojo.